部署开源IAM平台ZITADEL
✨ AI摘要:ZITADEL是一个开源身份和访问管理(IAM)平台,特别适合云原生应用,支持多个身份验证协议并提供细粒度权限控制。本文介绍了在宝塔环境中使用Docker部署ZITADEL的步骤,包括所需的依赖、Docker配置、PostgreSQL配置和反向代理设置。通过这些步骤,用户能够高效构建和管理跨平台的用户系统,提升系统安全性和管理便利性。
Powered by SparkU AI Platform
前言
什么是ZITADEL
ZITADEL 是一个开源的身份和访问管理(IAM)平台,专为现代云原生应用设计。它提供用户身份验证、授权和管理功能,支持多种身份验证协议(如 OAuth 2.0、OIDC、SAML),并允许开发者轻松集成到他们的应用中。
ZITADEL 强调安全性、隐私性和可扩展性,提供细粒度的权限控制和强大的审计跟踪。它可以自托管或作为 SaaS 服务使用,适用于各种规模的企业和组织,帮助他们简化身份管理并增强安全性。
为什么要用ZITADEL
本人在开发一个系列项目时,需要用到跨平台,跨网站的用户系统,如果单独为每一个项目开发一套用户系统,所耗费的时间成本和互通成本是极其高昂,而且这些项目均为一个总系列产品,为了更好的提供用户服务,故使用ZITADEL服务作为我们本地化部署的用户管理系统。
过程
依赖准备
我使用的是宝塔环境 + NGINX + Docker形式部署
宝塔NGINX负责反向代理ZITADEL,Docker运行ZITADEL,连接到宿主机的PostgreSQL
服务器需安装以下依赖服务
- PostgreSQL(>=14.0)
- Nginx
- Docker
- Docker Compose
Docker配置
准备好一个文件夹,在文件夹内放置下面这些配置文件
docker-compose.yaml
services:
  zitadel:
    restart: "always"
    network_mode: "host" # 使用宿主机的网络,为了连接宿主机的PostgreSQL
    image: "ghcr.io/zitadel/zitadel:latest"
    command: 'start-from-init --config /example-zitadel-config.yaml --config /example-zitadel-secrets.yaml --steps /example-zitadel-init-steps.yaml --masterkey {32位key} --tlsMode disabled' # 这里替换为32字节长度的masterkey,tlsMode建议设置为external
    ports:
      - "8080:8080"
    volumes:
      - "./example-zitadel-config.yaml:/example-zitadel-config.yaml:ro"
      - "./example-zitadel-secrets.yaml:/example-zitadel-secrets.yaml:ro"
      - "./example-zitadel-init-steps.yaml:/example-zitadel-init-steps.yaml:ro"

volumes:
  data:
官方文档中对
tlsMode的解释:TLS Modes
To run ZITADEL on any kind of infrastructure, you can configure on how to handle TLS connections. There are three modes of operation:
disabled,external,enabled.Generally this command is set as argument while starting ZITADEL. For example like this:
zitadel start-from-init --masterkey "MasterkeyNeedsToHave32Characters" --tlsMode disabledDisabled
With the mode
disabled, you instruct ZITADEL to await all connections with plain http without TLS.caution
Be aware this is not a secure setup and should only be used for test systems!
External
The mode
externalallows you to configure ZITADEL in such a way that it will instruct its clients to use https. However ZITADEL delegates the management of TLS connections to a reverseproxy, web application firewall or a service mesh.Enabled
When using the mode
enabledZITADEL is setup to await incoming connections in an encrypted fashion. Whether it is from a client directly, a reverse proxy or web application firewall. This allows HTTP connections to be secured at the transport level the whole way.example-zitadel-config.yaml
# All possible options and their defaults: https://github.com/zitadel/zitadel/blob/main/cmd/defaults.yaml
Log:
  Level: 'info'

# Make ZITADEL accessible over HTTP, not HTTPS
# 如果你直接部署到正式环境,拥有正式域名和Https,请修改
ExternalDomain: '正式域名地址,不带协议头'
ExternalPort: '正式域名的端口,https使用443,不带单引号'
ExternalSecure: true

# If not using the docker compose example, adjust these values for connecting ZITADEL to your PostgreSQL
Database:
  postgres:
    Host: '0.0.0.0' # 修改为宿主机的IP地址
    Port: 5432 # 宿主机PostgreSQL的端口
    Database: '数据库'
    Password: '数据库密码'
    User:
      SSL:
        Mode: 'disable'
    Admin:
      SSL:
        Mode: 'disable'
example-zitadel-init-steps.yaml
# All possible options and their defaults: https://github.com/zitadel/zitadel/blob/main/cmd/setup/steps.yaml
FirstInstance:
  Org:
    Human:
      # use the loginname root@zitadel.localhost
      # 你的超级管理员用户名和密码,密码需要含有数字大小写和字符
      Username: 'user'
      Password: 'password'
example-zitadel-secrets.yaml
# All possible options and their defaults: https://github.com/zitadel/zitadel/blob/main/cmd/defaults.yaml

# If not using the docker compose example, adjust these values for connecting ZITADEL to your PostgreSQL
Database:
  postgres:
    User:
      # If the user doesn't exist already, it is created
      # PostgreSQL的用户,用于用户权限,在后面的PostgreSQL配置内创建和设置权限,用户名请根据实际情况自行修改
      Username: 'user'
      Password: 'password'
    Admin:
      # PostgreSQL的用户,用于管理员权限,在后面的PostgreSQL配置内创建和设置权限,用户名请根据实际情况自行修改
      Username: 'admin'
      Password: 'password'
配置完成后在当前目录运行以下命令,即可创建容器,就可以在宝塔面板内看见容器了
docker compose up -dPostgreSQL配置
创建用户和授予权限
CREATE USER user WITH PASSWORD 'password';
CREATE USER admin WITH PASSWORD 'password' CREATEDB CREATEROLE;
GRANT ALL PRIVILEGES ON DATABASE {数据库名称} TO user;
在客户端认证配置文件内添加来源和权限
# Zitadel connections:
host    {数据库名称}       admin      {宿主机IP地址}/32            scram-sha-256
host    {数据库名称}       user          {宿主机IP地址}/32            scram-sha-256
host    postgres            admin       {宿主机IP地址}/32            scram-sha-256
NGINX反向代理配置
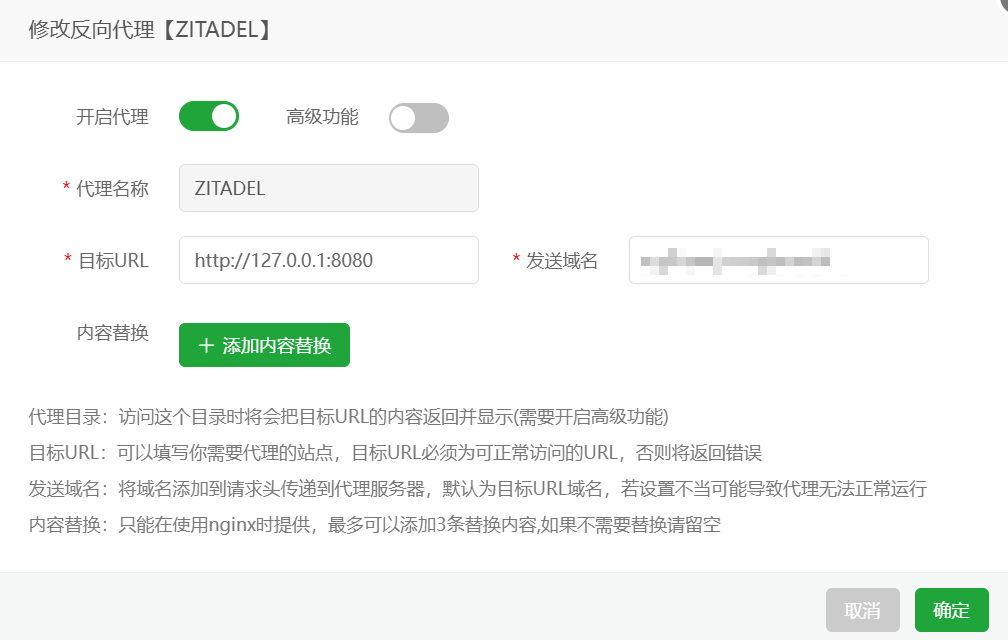
将发送域名要设置为和example-zitadel-config.yaml内ExternalDomain一致的域名,不带协议头

运行登录
启动Docker后,设置好反向代理,查看日志出现如下所示的内容后即代表启动成功,就可以通过设置好的域名进行访问
_____ ___ _____ _ ____ _____ _
|__ / |_ _| |_ _| / \ | _ \ | ____| | |
/ / | | | | / _ \ | | | | | _| | |
/ /_ | | | | / ___ \ | |_| | | |___ | |___
/____| |___| |_| /_/ \_\ |____/ |_____| |_____|

===============================================================

Version : v2.71.1
TLS enabled : false
External Secure : false
Machine Id Method : Private Ip
Console URL : http://192.168.0.8:8080/ui/console
Health Check URL : http://192.168.0.8:8080/debug/healthz

Warning: you're using plain http without TLS. Be aware this is
not a secure setup and should only be used for test systems.
Visit: https://zitadel.com/docs/self-hosting/manage/tls_modes

===============================================================

time="2025-03-07T07:04:01Z" level=info msg="auth request cache disabled" caller="/home/runner/work/zitadel/zitadel/internal/auth_request/repository/cache/cache.go:31" error="must provide a positive size"
time="2025-03-07T07:04:01Z" level=info msg="auth request cache disabled" caller="/home/runner/work/zitadel/zitadel/internal/auth_request/repository/cache/cache.go:36" error="must provide a positive size"
time=2025-03-07T07:04:01.120Z level=INFO msg="registered route" endpoint=/oauth/v2/authorize
time=2025-03-07T07:04:01.120Z level=INFO msg="registered route" endpoint=/oauth/v2/device_authorization
time=2025-03-07T07:04:01.120Z level=INFO msg="registered route" endpoint=/oauth/v2/token
time=2025-03-07T07:04:01.120Z level=INFO msg="registered route" endpoint=/oauth/v2/introspect
time=2025-03-07T07:04:01.120Z level=INFO msg="registered route" endpoint=/oidc/v1/userinfo
time=2025-03-07T07:04:01.120Z level=INFO msg="registered route" endpoint=/oauth/v2/revoke
time=2025-03-07T07:04:01.120Z level=INFO msg="registered route" endpoint=/oidc/v1/end_session
time=2025-03-07T07:04:01.120Z level=INFO msg="registered route" endpoint=/oauth/v2/keys
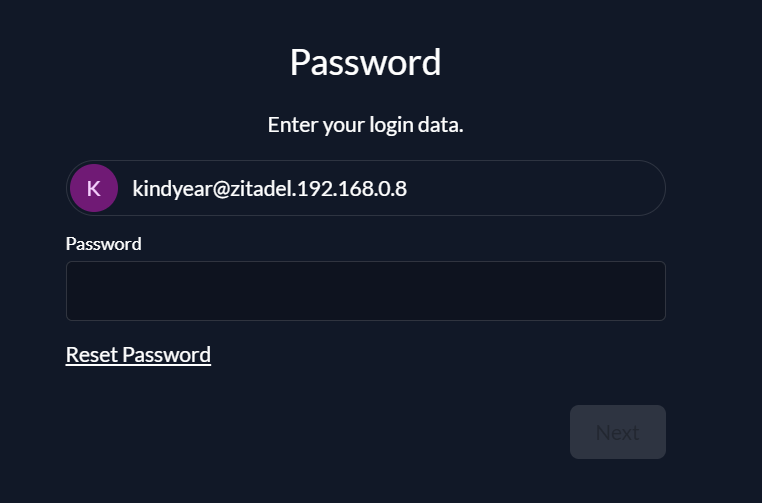
time="2025-03-07T07:04:01Z" level=info msg="server is listening on [::]:8080" caller="/home/runner/work/zitadel/zitadel/cmd/start/start.go:605"登录用户名是这个格式:{yaml内设置的用户名}@zitadel.{你的域名地址},密码就是你之前设置的用户名

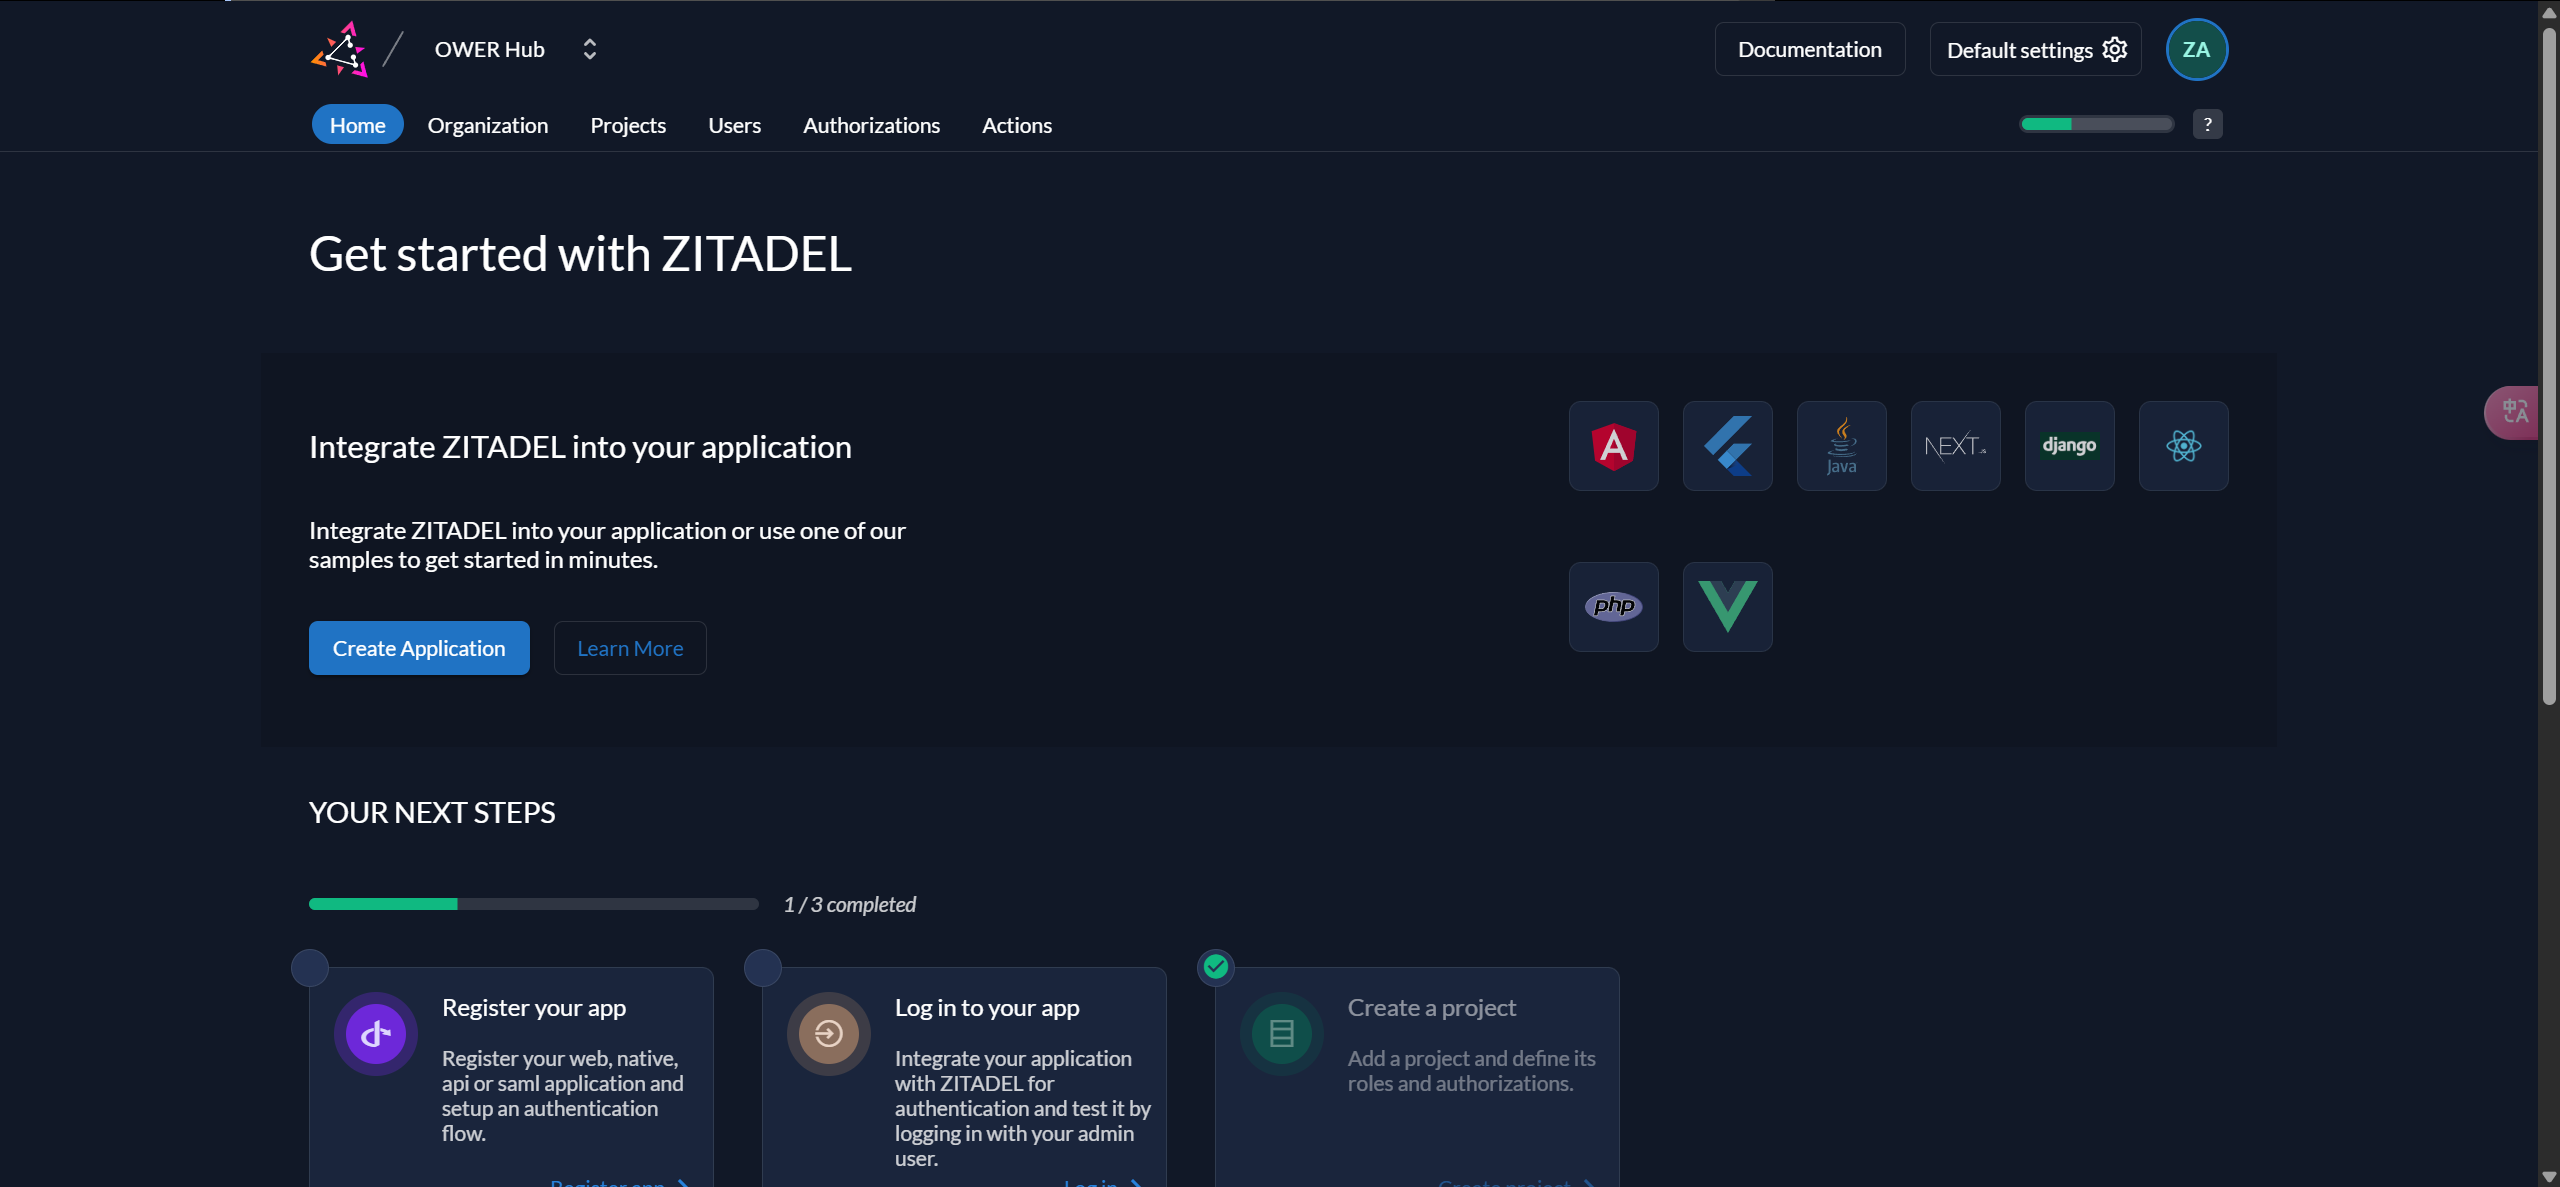
首次登录可能需要你修改密码,修改完成登录后就可以看到控制台咯

